Tile Backsplash Designs Using a Herringbone Pattern – Part II
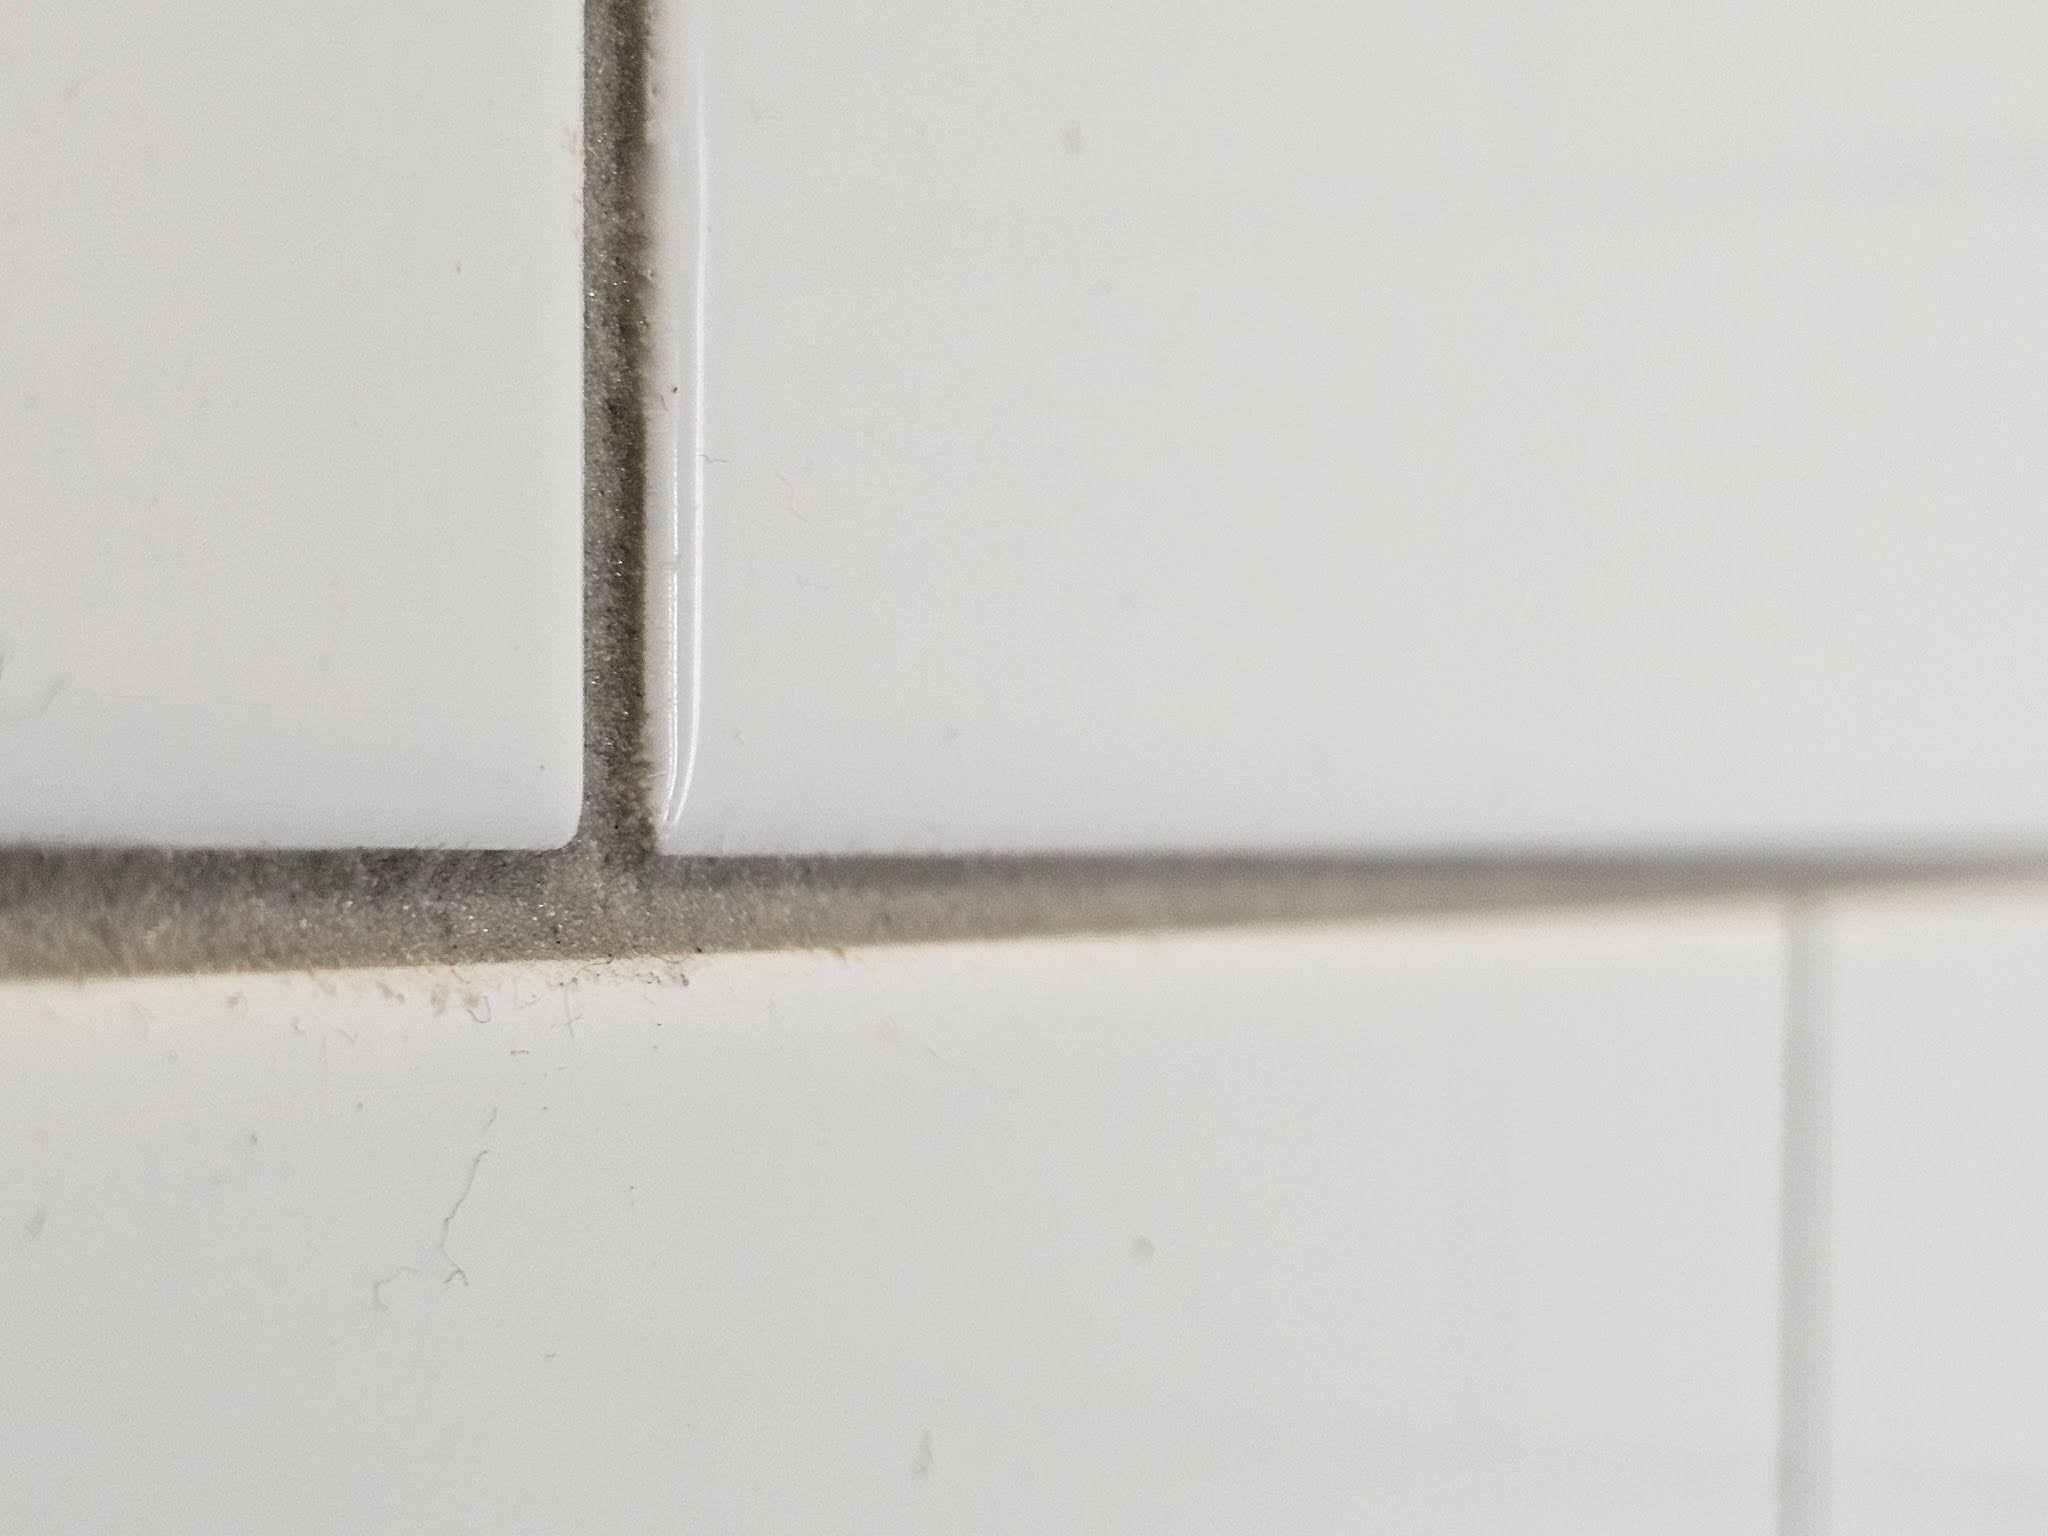
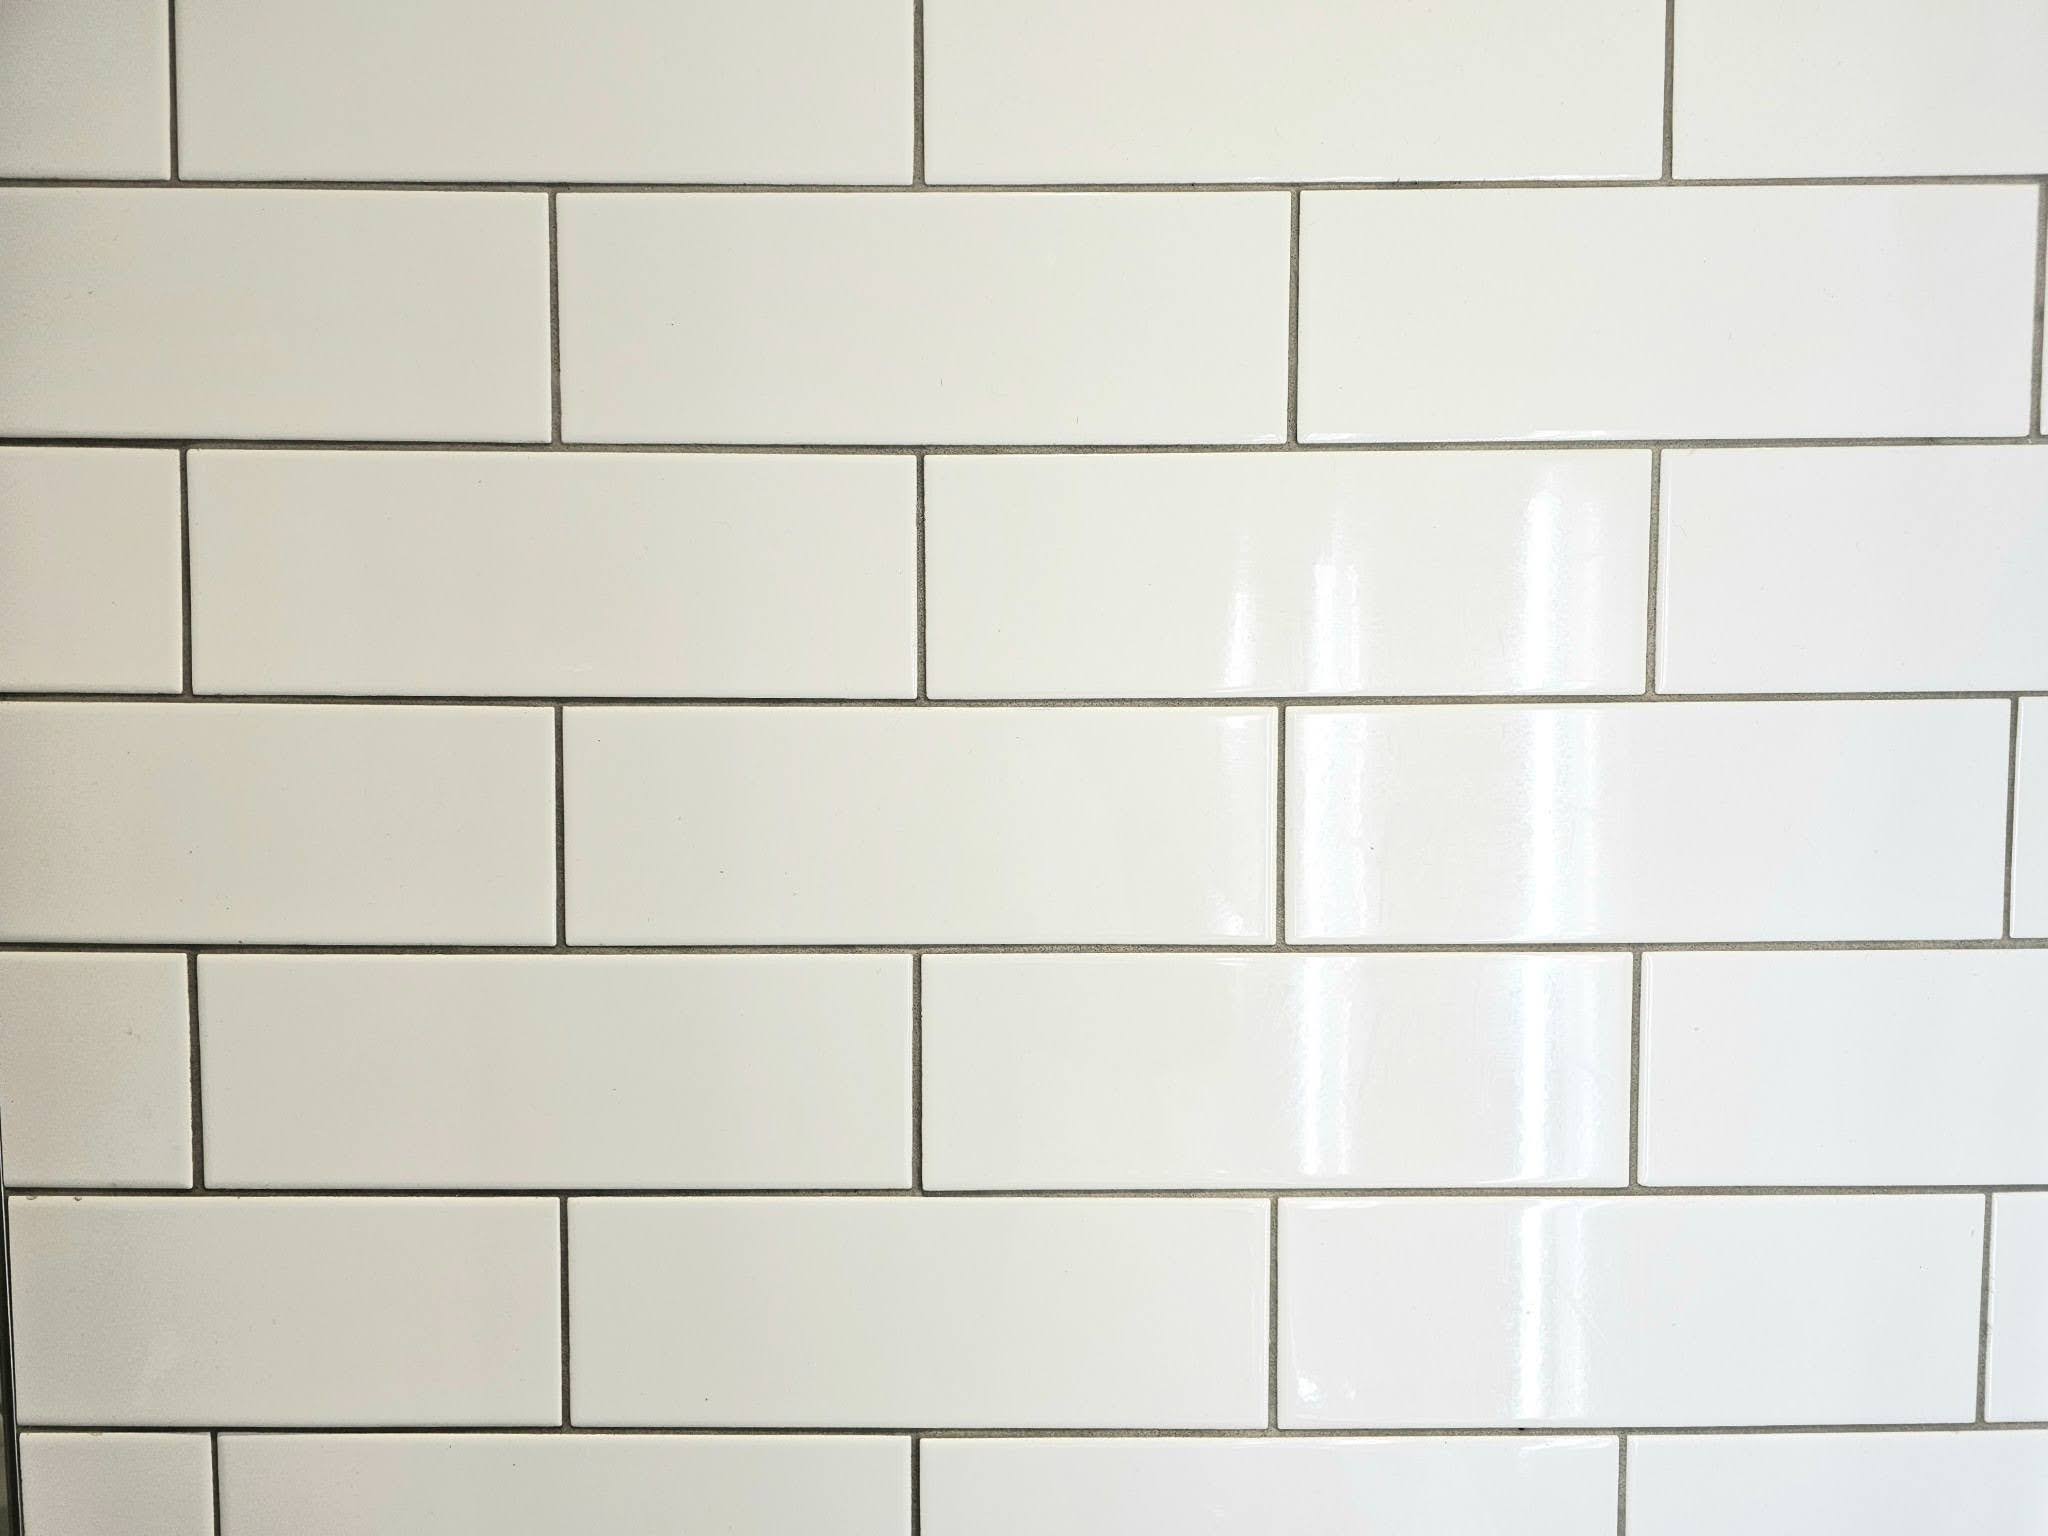
In this past week’s blog article, here on our website, we started taking a look at a kitchen backsplash covered with a subway type tile. This tile is set in a herringbone pattern. The tile is white, typical of most types of subway tile, but it has a relatively dark charcoal gray color grout line. That grout line really shows off this particular pattern.
This past week we talked about the history of the herringbone pattern and similarities to other patterns. It’s like more labor intensive type installation than a typical running bond found in most types of subway tile installations. It does look better though.
We think that the installation was done pretty well, but there are some issues. Some of these issues may be related to problems of the past (inherited conditions). Here in Washington DC, we work with a lot of houses that are very old. In many cases the same kitchen or bathroom spaces have been renovated multiple times over many generations. Many of the houses we work on are well over 100 years old. in some cases a particular kitchen or bathroom may have been renovated as many as three or more times in the life of the home or building.
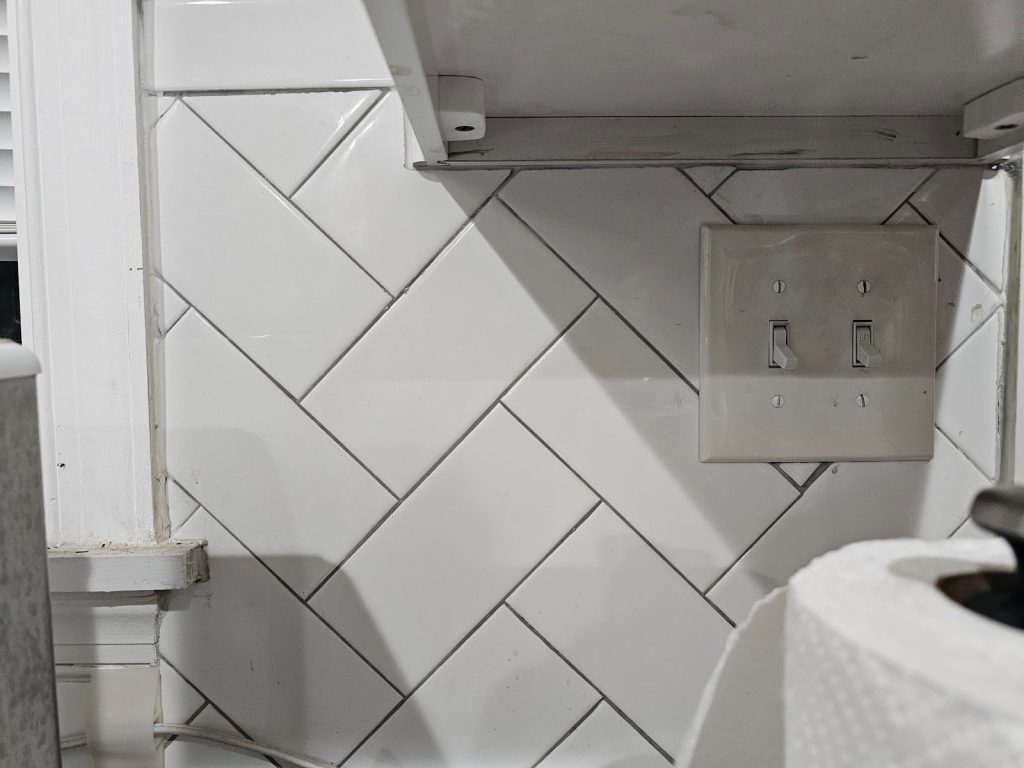
If you look at the picture below, you can see the location where switches have been installed. Often switches and a backsplash, above the kitchen countertop, can control things like lighting, equipment, and particularly often will be used to control a garbage disposal. Interestingly, sometimes, for garbage disposals, air pressure switches will be used instead of regular electrical switches. Some people consider air pressure switches to be a little bit safer than regular electrical switches. Kitchens happen to be generally pretty wet environments. This particularly is true around the sink and disposal switches are generally installed close to the sink.
If you install the switch too far away from the sink it’s inconvenient. You would essentially have to reach far or step away from the sink before you turn the disposal on. It’s good to have the switch relatively close to the sink itself so you can see the water drain down and clear, when the drain is clogged. We recommend people always run the water of the sink when they’re using the garbage disposal. If there’s a large mass of food debris in the garbage disposal, you can make the disposal work harder than it needs to if it’s not very wet.
Running the water from the faucet at the same time helps hydrate all of the food that’s being churned up in the disposal. Essentially the disposer has blades that spin and masticate that food into smaller particles so it’ll run down the drain.
We think the particular location of this switch is not ideal though, even if it’s close to the sink itself. We think it should be a little bit lower and closer to the countertop. But we do not think it should touch the countertop. Instead it should be separated by at least a few inches. Here though, the switch location is installed almost up to the underside of the wall cabinets. That is too high. By putting it that high, it will make it difficult for a tall person to see the switches clearly when they’re extending their arm underneath the wall cabinets.
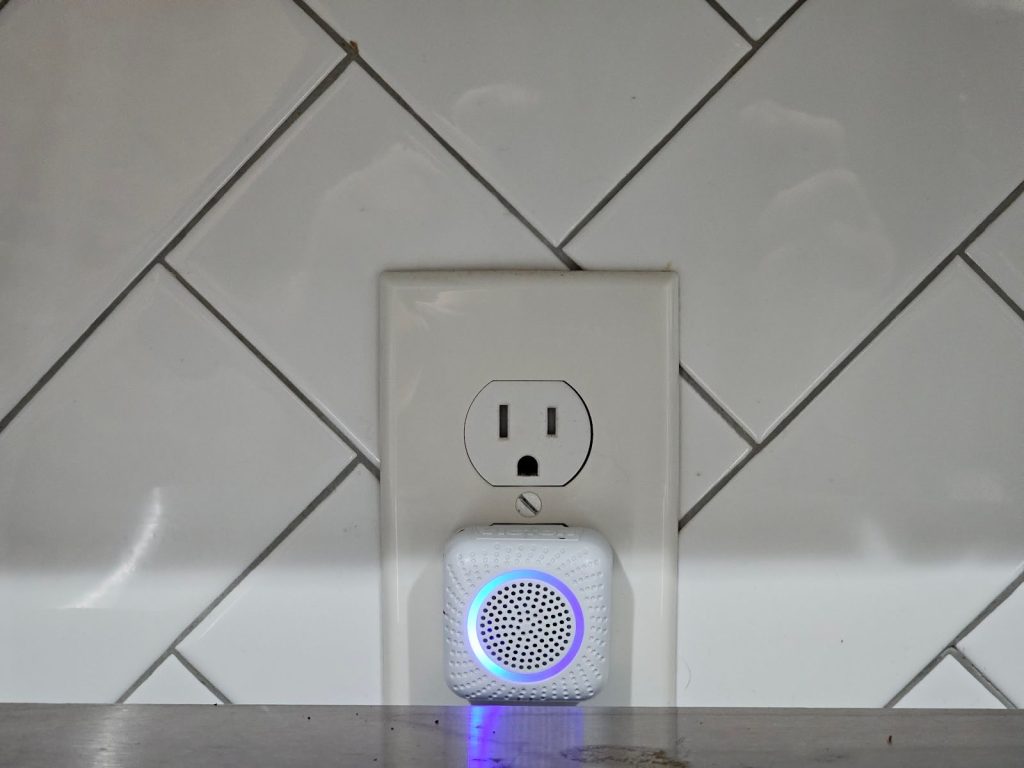
As well, as you can see in the next pictures below, the receptacles are installed too low. We believe that the countertop should be separated from the bottom of the receptacles by at least a few inches. This gives some clearance so that if you’re working on the countertop with foods or other things, they’re not at the exact same level of the receptacles. Also, it looks like here, they had to trim or cut the receptacle cover plates.
These plates should not have to be trimmed if the installation is done correctly. This particular problem or conflict of spacing and configuration may be an inherited condition type of problem from previous installations. In many cases, a kitchen renovation can be completed without installing new or modifying existing electrical equipment. Here, if these plugs were installed at previous renovations, instead of modifying them, to save costs, they may have left them in their original location. However, it looks like the original location was too low for this new countertop height.
Most countertop installations are standardized around 36 in above the finished floor. In some cases that height will vary a bit due to the thickness of the selected countertop. Thinner countertops obviously will be lower and thicker countertops will be higher. Generally the base cabinets themselves are about 34.5 inches from the finished floor, to the top of the cabinet carcass or box. If the typical countertop is roughly 1.5 in thick, then the finished height of the countertop will be 36 inches above the finished floor. In this particular kitchen installation, accordingly, the receptacles are now are lower than they should be for a typical modern installation.

If a significant amount of excess wiring was not left in the wall or in the boxes behind the receptacles, it may be difficult to modify the location of those receptacles. In some cases wires can be spliced to extend them to reach a higher position, which requires an additional length of wiring. We generally recommend against in-wall splices. If not done within strict constraints, splices will be prohibited by the building code.
Dupont Kitchen & Bath Can Help
As dedicated and local DC metropolitan kitchen and bath builders and installers, we pride ourselves on turning your visions into reality. Your kitchen and bathrooms can reflect your unique style and be designed with personalized aesthetics. It can be a process from creative designs to the realization of your dream space. Specializing in kitchen and bath construction, we bring expertise and skills to every project. If you’re contemplating a renovation, upgrade, or modernization in the local market, we’re happy to be your team. Consult with us, and we can start together on a path to redefine and elevate your DC living experience.
You can visit our company website at https://dupontkitchenbathdc.com/
Here at our website you will find a simple and convenient web form that you can fill to contact us quickly.