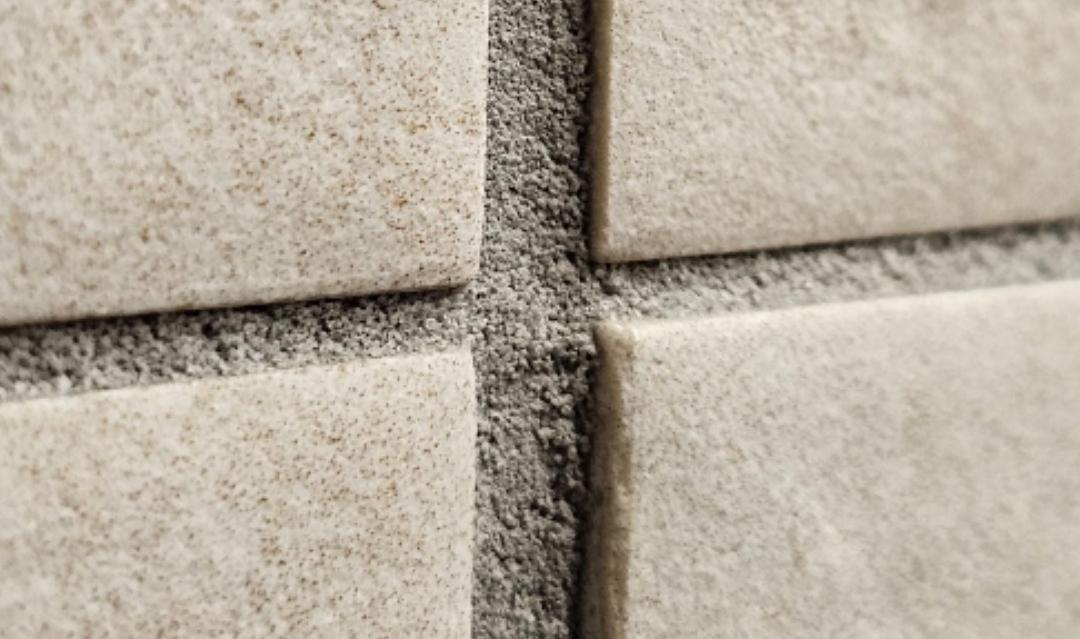
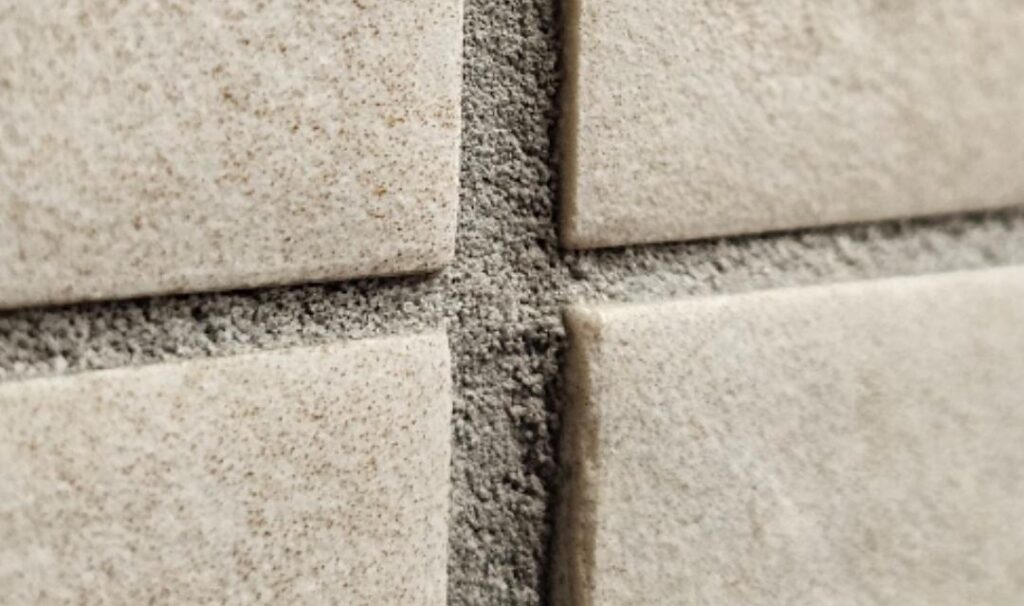
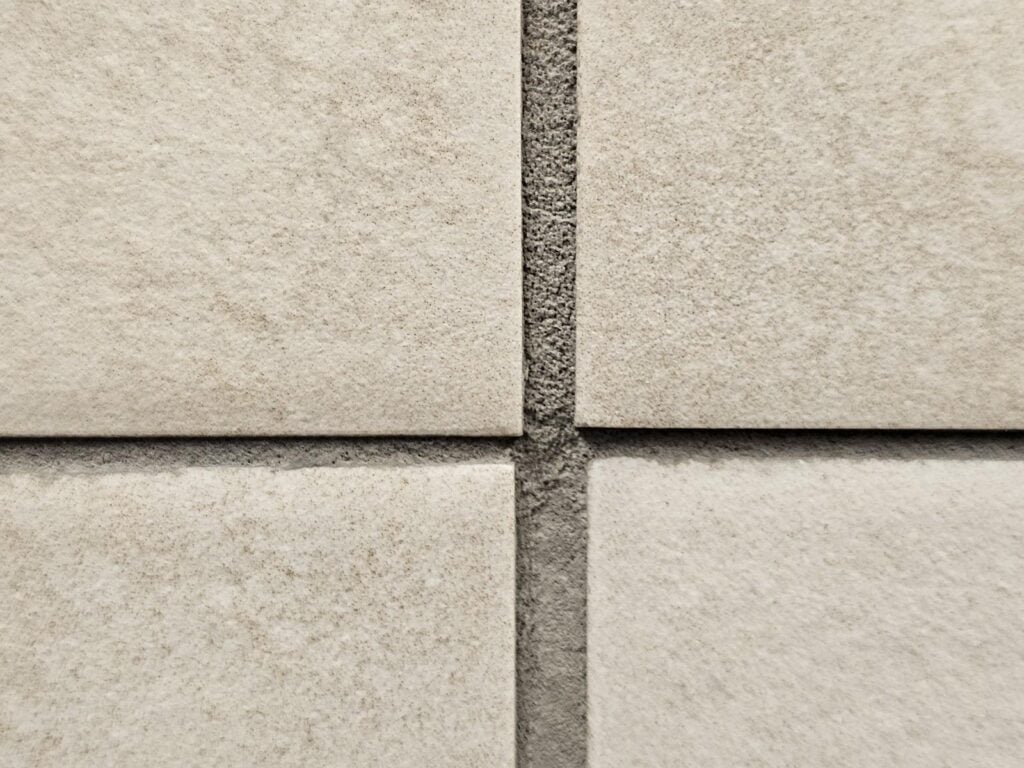
In the picture below, you can see it even closer view of one of the tile joints we looked at this past week. The grout lines have been excessively removed. There’s still some grout there, but too much of it has been removed.
Tiles are set and mortared in place before the grout is applied. In other words the tile will be set without any grout between the joints on one day and then on a subsequent day the grout will be applied, generally in totality. The best way to apply grout, in our opinion, is to apply it throughout the installation at one time. If you do it in pieces you’ll have cold joints between the different grout areas. It’s better for the grout to be applied continuously throughout.
After the grout has been packed into the mortar joints with a soft face trowel, you let it cure just enough and then pass over it again with a damp sponge to remove the excess grout. This is one of the traditional ways of applying the grout that’s been done for decades. If the grout hasn’t cured long enough, or if the wrong type of material has been used to clean the excess grout, it will remove too much grout it will end up looking like the grout in the picture above.
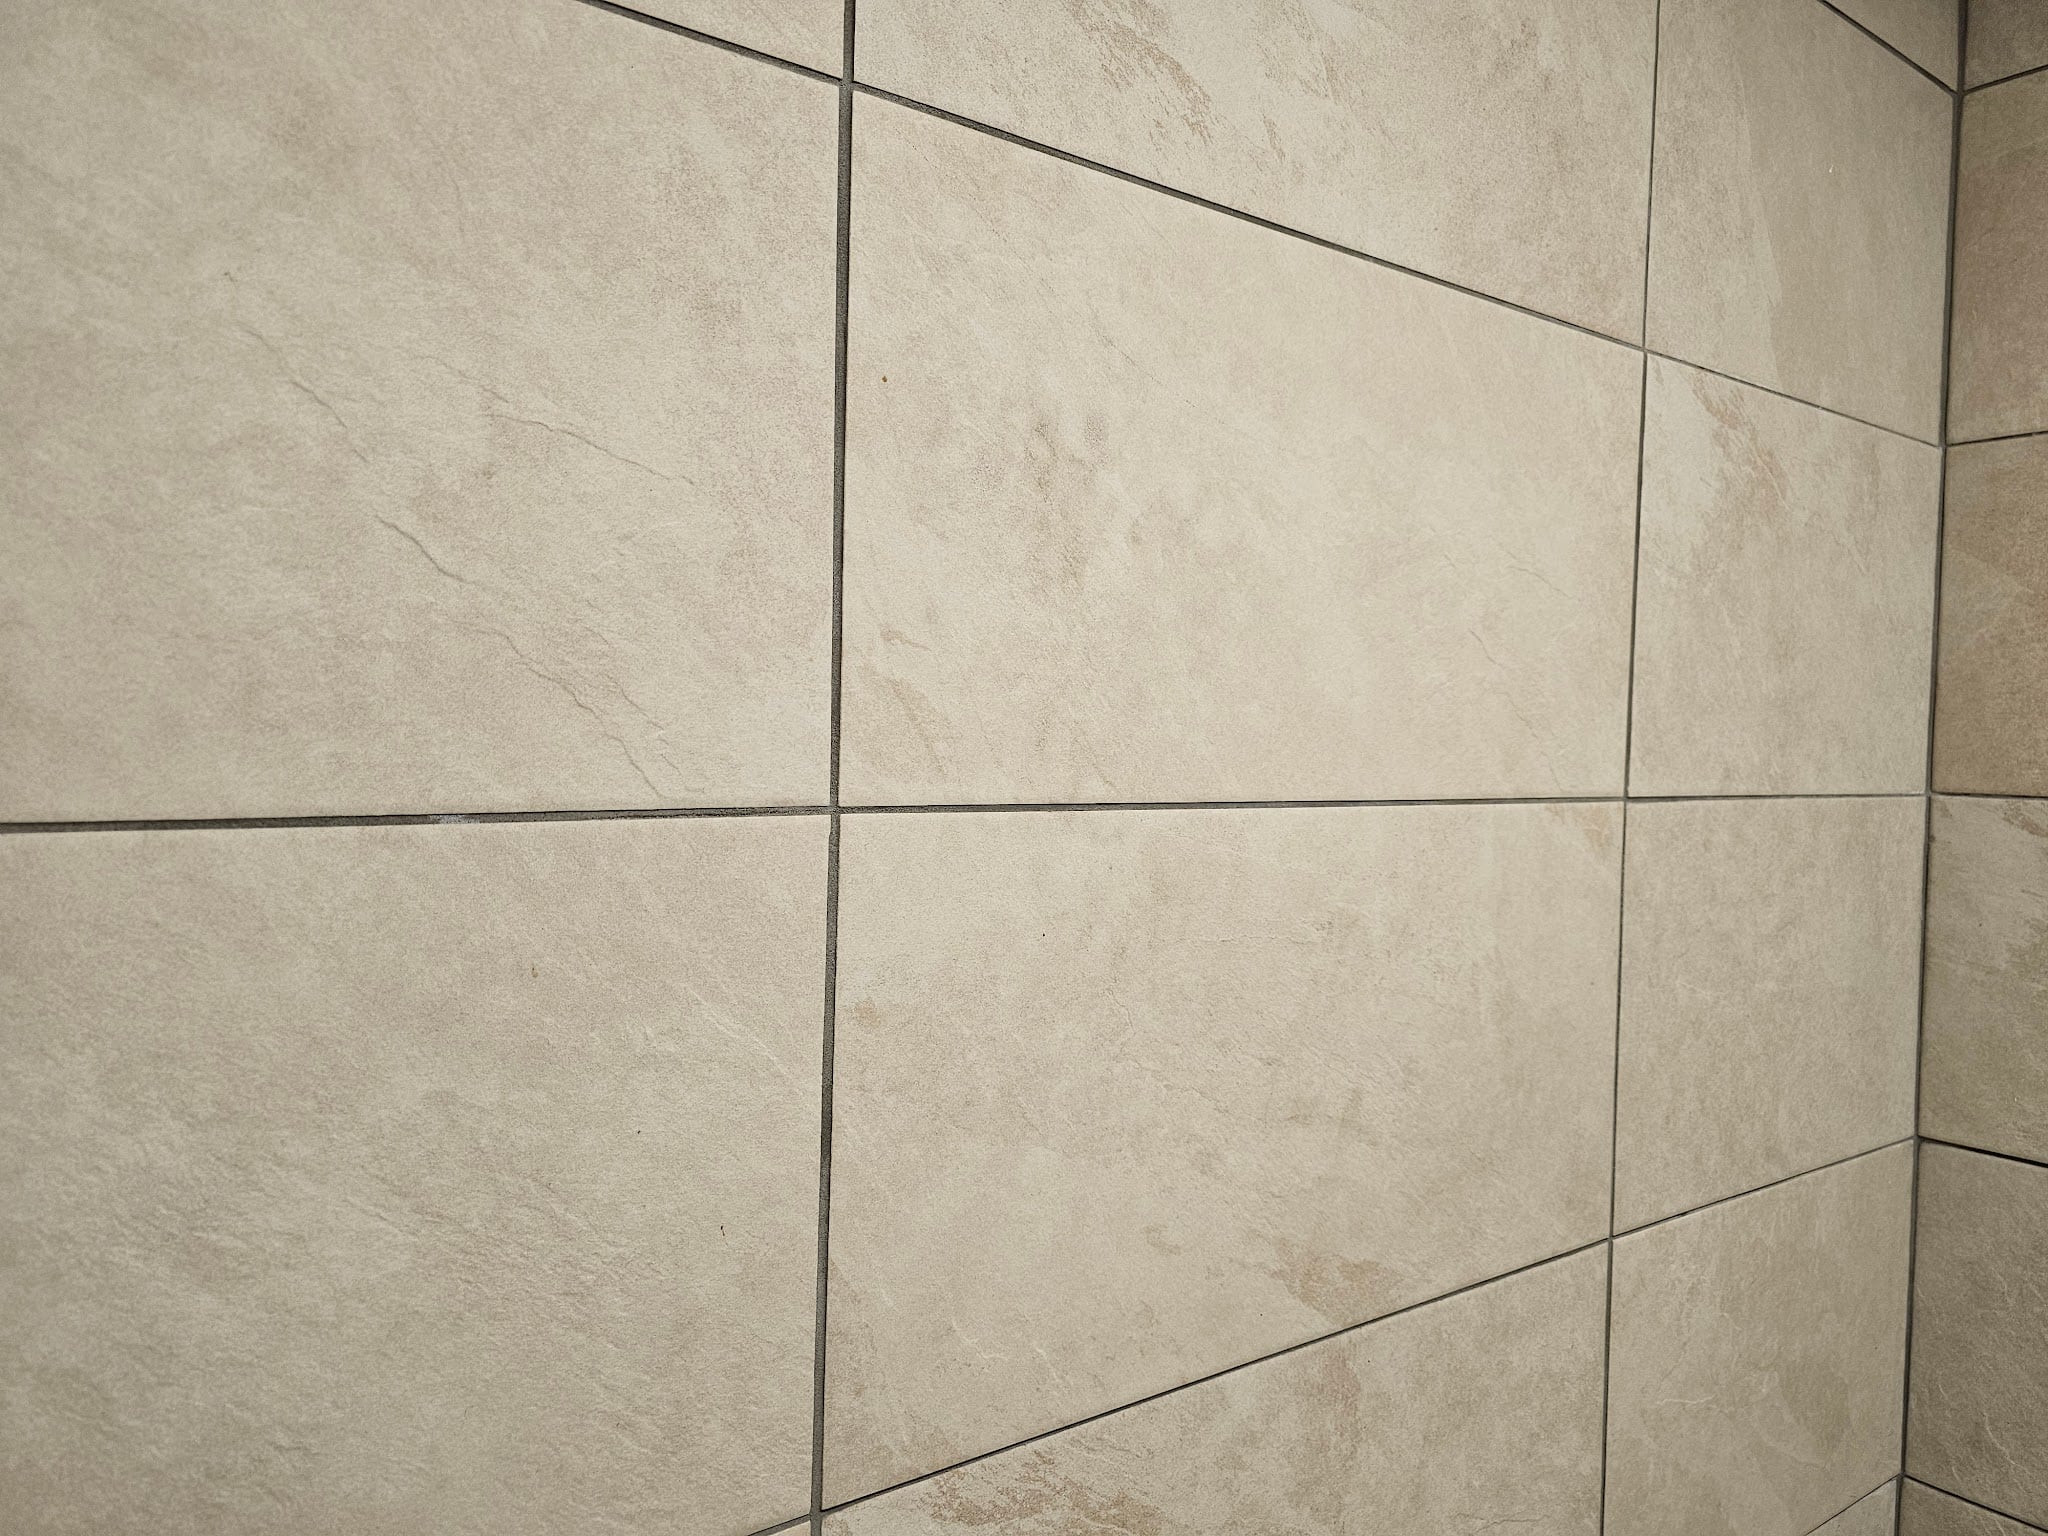
If you look at the wider angle picture below, you can see a better view of the texture. Although this particular tile material isn’t actually made from stone, it is made to resemble the face of a natural stone. In reality, it’s a porcelain type of ceramic. There’s a glaze applied to the surface which gives it a color a bit like an earthtone light beige.
One of the big differences between this particular surface texture and the surface texture you might find in real natural stone is that the amount of deflection from the base of the tile is very limited. It has the visual effect, just enough to make it visually apparent when you’re close enough, but it conveniently doesn’t have the same amount of random inconsistencies you’d find in natural stone. Those natural inconsistencies might make the tile more susceptible to deterioration related to water infiltration and would likely make the surface fitting to installation in a bathroom space.
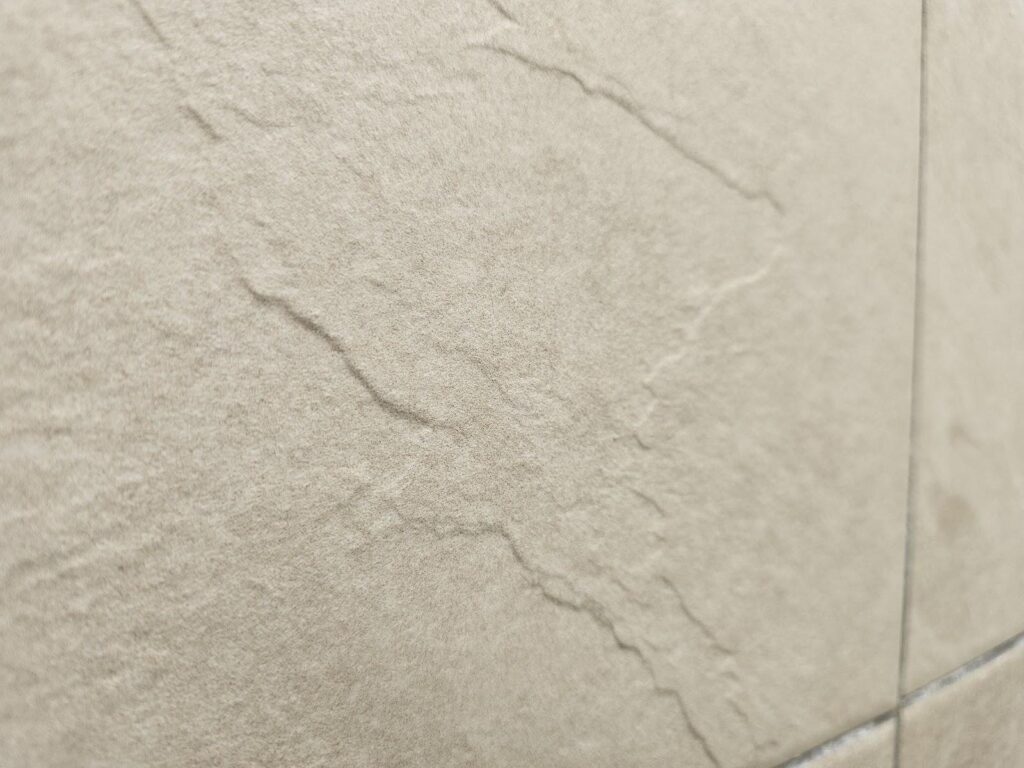
Geologists refer to this type of texture as a natural cleft or riven finish. The reason why certain types of stone have a texture like this goes back to their formation, generally many millions of years ago. You mostly find textures like this in sedimentary or metamorphic stones. You wouldn’t generally find them in igneous rock because igneous rock is formed from lava, even though it’s not true homogeneity, lava has a degree of continuity rather than consistency that comes from the elements being smooshed together.
In sedimentary rock, you’ll generally find layers that build up over eons of time. As they build, massive weight and pressure applies them together into rock. Metamorphic rock, in contrast, generally starts in a similar way, from actual sedimentary stone but then it is forced with much higher amounts of pressure and extreme heat. As the stones are split apart, the cleft or riven elements between the sheets of the individual plies of buildup separate, in whole or in part, between the layers like grain, or as shaped through tools or machinery.
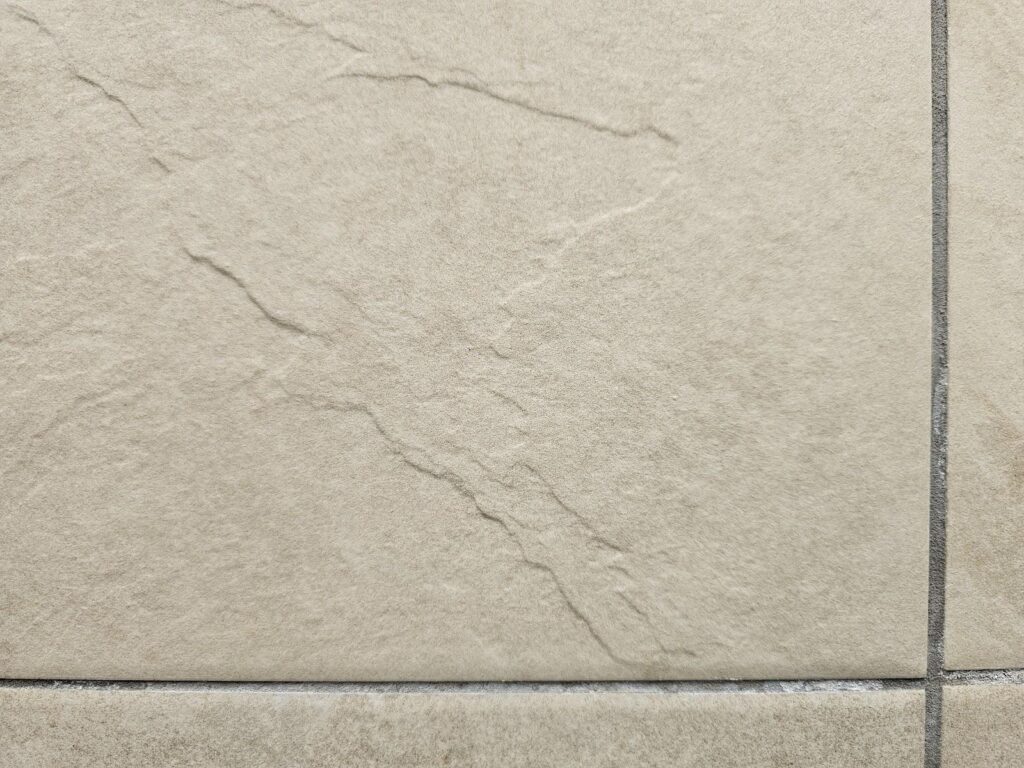
This past week, we began discussing some of the differences between the more common running bond and the square bond shown here in this particular installation. It might appear that the installation of the square bond is easier, but it’s actually trickier. Lining it up corner to corner seems simple but it is a bit of an unforgiving configuration.
The lineup for alignment of the square bond has to be executed flawlessly. Small variations are amplified. Instead of just being hidden between the vertical joints of one tile and the next, they are transformed into a small offset that visually jumps out as a zigzag between the tiles. Unless the substrate is virtually perfect, which it almost never is, the tile will have to be balanced out on all sides to avoid noticeable lippage.
They truly tried hard at installing this tile close to perfect but perfect never is reality. You can see the slight variation where the four corners meet. We refer to this as an unforgiving configuration. Here you can see an example, case in point. By adjusting the upper left hand side tile just a little bit at that corner, it affects the other corners and brings them out of alignment.
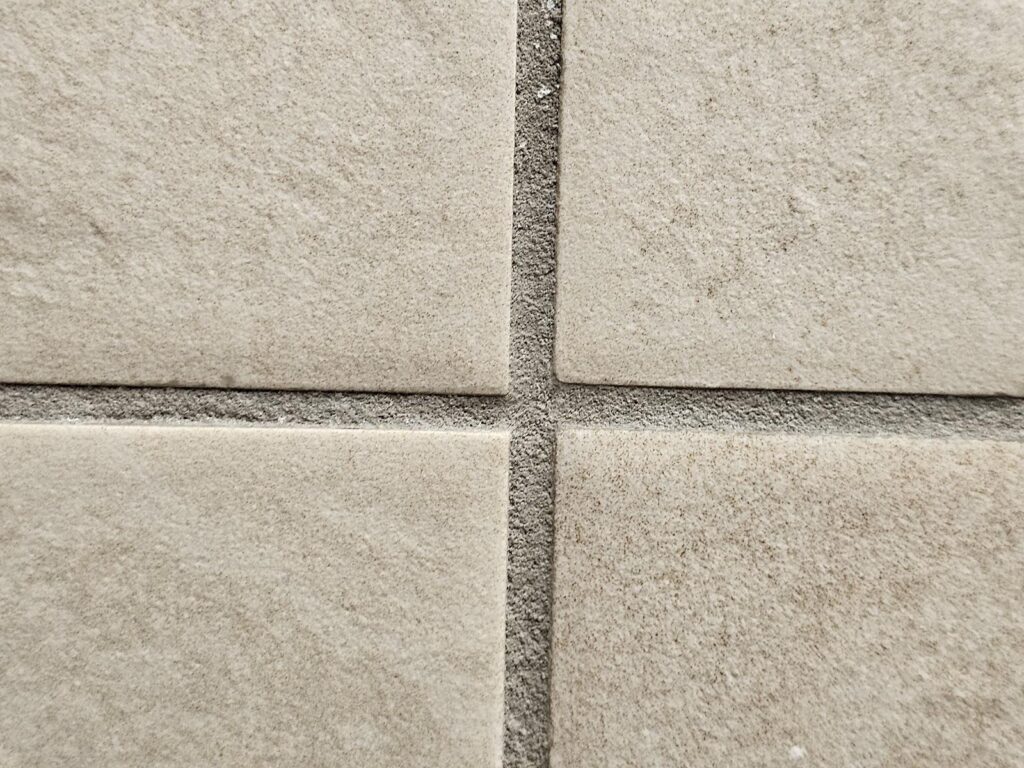
Another joint is shown in the next picture below. This joint is both significantly wide in the vertical run and thin at the horizontal run. There’s also lippage. The upper tiles project more than the lower tiles.
Dupont Kitchen & Bath Can Help
As dedicated and local DC metropolitan kitchen and bath builders and installers, we pride ourselves on turning your visions into reality. Your kitchen and bathrooms can reflect your unique style and be designed with personalized aesthetics. It can be a process from creative designs to the realization of your dream space. Specializing in kitchen and bath construction, we bring expertise and skills to every project. If you’re contemplating a renovation, upgrade, or modernization in the local market, we’re happy to be your team. Consult with us, and we can start together on a path to redefine and elevate your DC living experience.
Ready to start your DC kitchen or bath renovation? Visit us at dupontkitchenbathdc.com and reach out through our quick contact form – we’d love to hear about your project.