Bathroom Remodeling Preparation Tips for Washington, DC Homeowners
If you’re a homeowner in Washington, DC or Montgomery County planning a bathroom remodel, you’re probably excited about the finished result, but maybe a little anxious about everything that comes before it. Many homeowners worry about dust, noise, unexpected delays, water shutoffs, and how to continue daily life while the bathroom is under construction. The good news is that a little preparation goes a long way. At Dupont Kitchen & Bath, we’ve guided countless homeowners through successful bathroom renovations, helping them prepare their homes so projects stay organized, efficient, and as stress-free as possible.
A bathroom remodel isn’t just about choosing beautiful tile or a new vanity. Preparing your home before construction begins helps protect your belongings, keeps everyone safe, reduces disruptions, and allows your contractor to work more efficiently.
Why Preparing for a Bathroom Remodel Matters
Many homeowners focus all their attention on selecting finishes but overlook what happens before demolition begins. Poor preparation can lead to:
- Delays caused by missing materials.
- Damage to nearby furniture or flooring.
- Dust is spreading throughout the house.
- Limited access to essential areas.
- Extra stress for your family.
Taking a day or two to prepare your home can make the renovation process significantly smoother from start to finish.
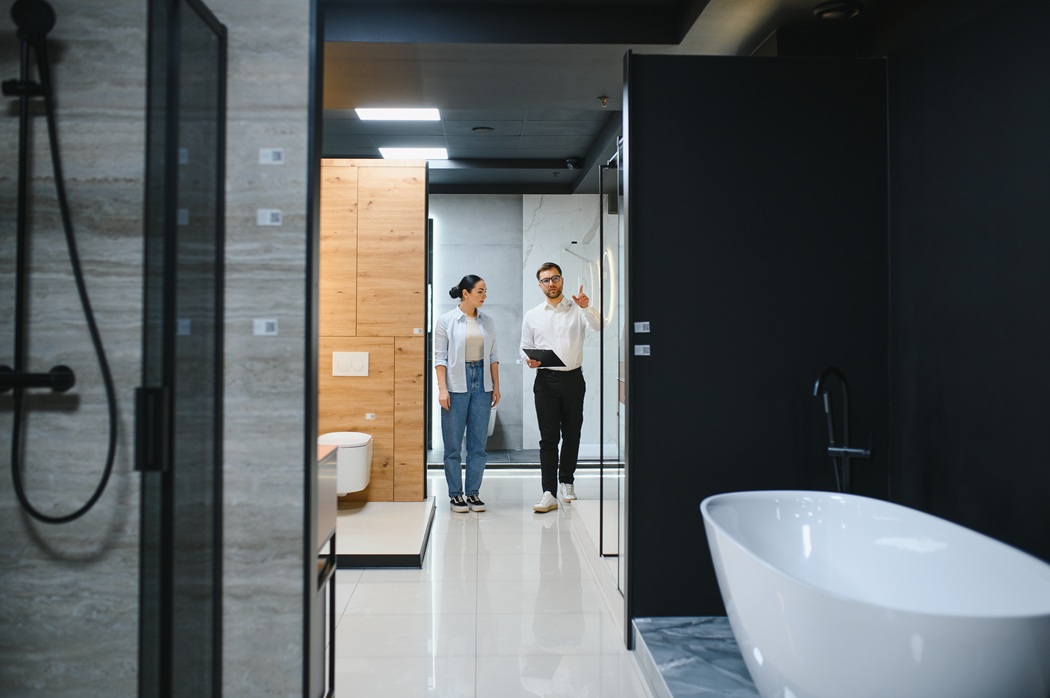
Step 1: Finalize Your Bathroom Design Before Construction
One of the biggest causes of remodeling delays is making design changes after work has already started. Before demolition begins, make sure you’ve selected:
- Vanity
- Sink
- Faucet
- Toilet
- Shower or bathtub
- Tile
- Flooring
- Lighting
- Mirrors
- Paint colors
- Hardware and accessories
Ordering products early is especially important because specialty fixtures, custom cabinetry, and imported tile may take several weeks to arrive.
Have Backup Material Choices
Supply chain delays still happen from time to time. Having a second tile or fixture option prevents your project from stalling if your first choice becomes unavailable.
Step 2: Empty the Bathroom Completely
This may seem obvious, but many homeowners forget how much is actually stored inside their bathroom. Remove:
- Towels
- Toiletries
- Medications
- Hair tools
- Rugs
- Shower curtains
- Artwork
- Trash cans
- Cleaning supplies
- Decorative items
Don’t forget cabinets, medicine cabinets, drawers, and storage baskets. Anything left behind may become dusty or damaged during demolition.
Step 3: Protect Nearby Rooms
Bathroom remodeling creates more dust than many people expect. Contractors often install protective barriers, but homeowners can help by:
- Removing fragile decorations from nearby hallways.
- Covering furniture close to the work area.
- Protecting hardwood floors with temporary floor coverings.
- Closing doors to unused rooms.
- Covering HVAC vents near the remodeling zone if recommended by your contractor.
Many older homes in Washington, DC also have narrower hallways and staircases, making it even more important to clear pathways for workers carrying materials.
Step 4: Create a Clear Path to the Bathroom
Workers will be moving tools, tile, drywall, plumbing fixtures, and demolition debris in and out every day. Walk through the route from the front door to the bathroom and remove anything that could get in the way. This includes:
- Furniture
- Plants
- Shoe racks
- Small tables
- Decorative items
- Children’s toys
A clear path improves safety and protects your belongings.
Step 5: Plan for Water Shut-Offs
Most bathroom remodels require temporary water shut-offs. Know where your home’s main water shut-off valve is before construction begins. Your contractor may need quick access if plumbing work requires immediate adjustments. If you’re remodeling the only bathroom in your home, discuss the expected water interruptions in advance so your family can prepare accordingly.
Step 6: Decide How Your Family Will Use Another Bathroom
If your home has multiple bathrooms, decide which one will temporarily become the primary bathroom. If you only have one bathroom, make arrangements before work begins. Some homeowners:
- Stay with family
- Use a temporary rental
- Schedule showers at a nearby gym
- Coordinate work schedules around construction hours
Planning ahead eliminates unnecessary frustration once demolition starts.
Step 7: Protect Children and Pets
Bathroom remodels involve:
- Sharp tools
- Electrical work
- Demolition debris
- Loud equipment
- Dust
Create a plan to keep children and pets safely away from the work area. Some homeowners temporarily use baby gates or keep pets in another section of the home during work hours. This keeps everyone safe while allowing the remodeling crew to work efficiently.
Step 8: Prepare for Noise and Dust
Bathroom remodeling isn’t quiet. The demolition stage is usually the loudest part of the project. You can make the experience easier by:
- Scheduling work-from-home meetings around construction hours.
- Wearing noise-canceling headphones.
- Closing doors throughout the house.
- Running an air purifier if you have allergies.
- Discussing the daily work schedule with your contractor.
Most professional contractors also use dust-control systems to minimize airborne debris.
Step 9: Secure Valuables
Although professional remodeling crews respect your home, it’s always smart to secure valuable items before construction begins. Store away:
- Jewelry
- Important documents
- Electronics
- Cash
- Family heirlooms
This is simply good practice during any home improvement project.
Step 10: Confirm the Remodeling Timeline
Before work begins, ask your contractor questions like:
How long will demolition take?
Knowing when demolition starts helps you prepare for the noisiest phase of the project.
When will plumbing and electrical work happen?
Some stages require temporary service interruptions or inspections.
When are materials arriving?
Confirm that major products have already been delivered or scheduled.
What happens if unexpected issues are discovered?
Older homes in Washington, DC and nearby Montgomery County neighborhoods sometimes reveal hidden plumbing leaks, water damage, mold, or outdated electrical systems after demolition begins. Discuss how these situations will be handled before the project starts.
Common Bathroom Remodel Mistakes to Avoid
Many remodeling headaches are preventable. Avoid these common mistakes:
- Waiting Too Long to Order Materials: Custom vanities, specialty tile, and premium fixtures often have longer-than-expected lead times.
- Changing Your Mind Mid-Project: Design changes after construction begins almost always increase costs and extend timelines.
- Forgetting About Storage: Have a temporary place ready for everyday bathroom essentials so you aren’t searching through boxes every morning.
- Ignoring Daily Access: Think beyond the bathroom itself. Workers will need parking, material deliveries, and access to the home during scheduled work hours.
Bathroom Remodel Preparation Checklist
Before construction starts, confirm you’ve completed these tasks:
- Finalized your bathroom design
- Ordered all major materials
- Selected backup product options
- Removed all personal belongings
- Cleared pathways for workers
- Protected nearby floors and furniture
- Located the main water shut-off valve
- Planned bathroom access during construction
- Arranged care for pets and children
- Stored valuables safely
- Reviewed the project timeline with your contractor
Checking these items off before demolition begins can prevent unnecessary stress later.
Frequently Asked Questions
What are the first steps for a bathroom remodeling project?
Start by establishing your budget, defining your goals, creating a bathroom design, selecting materials, and hiring an experienced remodeling contractor. Once the plan is finalized, order materials early and prepare your home before demolition begins.
How do you plan a bathroom remodeling project?
Planning starts with deciding what you want to improve, setting a realistic budget, measuring the space, choosing fixtures and finishes, and creating a renovation timeline. Working with a professional contractor helps ensure that everything is properly coordinated from design through installation.
How do I prep my home for a bathroom remodel?
Remove everything from the bathroom, protect nearby flooring, create a clear path for workers, secure valuables, prepare for dust and noise, and plan for temporary water shut-offs or alternate bathroom access if necessary.
What is the correct order for remodelling a bathroom?
A typical bathroom remodel follows this sequence: planning and design, ordering materials, demolition, plumbing and electrical updates, framing if needed, drywall, flooring, tile installation, painting, vanity and fixture installation, finishing details, and final inspection.
Make Your Bathroom Remodel Easier from Day One

Preparing your home before construction begins is one of the simplest ways to reduce stress and keep your bathroom remodeling project moving smoothly. From clearing the workspace to planning around temporary disruptions, a little preparation helps avoid costly delays and creates a better experience for everyone involved.
If you’re planning a bathroom renovation in Washington, DC, or Montgomery County, Dupont Kitchen & Bath provides expert guidance from the initial consultation through the final walkthrough. Whether you’re updating a guest bathroom or creating a luxury primary suite, our experienced team is committed to delivering quality craftsmanship, clear communication, and a renovation process you can feel confident about.
Ready to get started? Contact Dupont Kitchen & Bath today at (202) 831-4869 to schedule your consultation and begin planning your dream bathroom.