If you’re a homeowner in Montgomery County, Bethesda, Rockville, or nearby Maryland areas, thinking about upgrading your kitchen, chances are you’re wondering how long the disruption to your life will last. Between cooking in temporary setups, dealing with dust, and juggling contractor schedules, the timeline can feel like the biggest unknown. The good news is that with the right planning and a clear process, a classic kitchen renovation doesn’t have to drag on for months without direction, and working with an experienced team can make the entire timeline predictable and manageable.
The Short Answer: Typical Kitchen Renovation Timeline in Maryland
A classic kitchen renovation in Maryland usually takes:
- 6 to 12 weeks for construction
- 3 to 6 months total project time (including planning and design)
That’s the realistic range most homeowners experience. Smaller, cosmetic updates may land closer to 8–10 weeks, while projects involving layout changes or structural work can extend beyond 12 weeks. Most delays don’t happen during construction. They happen before the first cabinet is even installed.
What Counts as a “Classic Kitchen Renovation”?
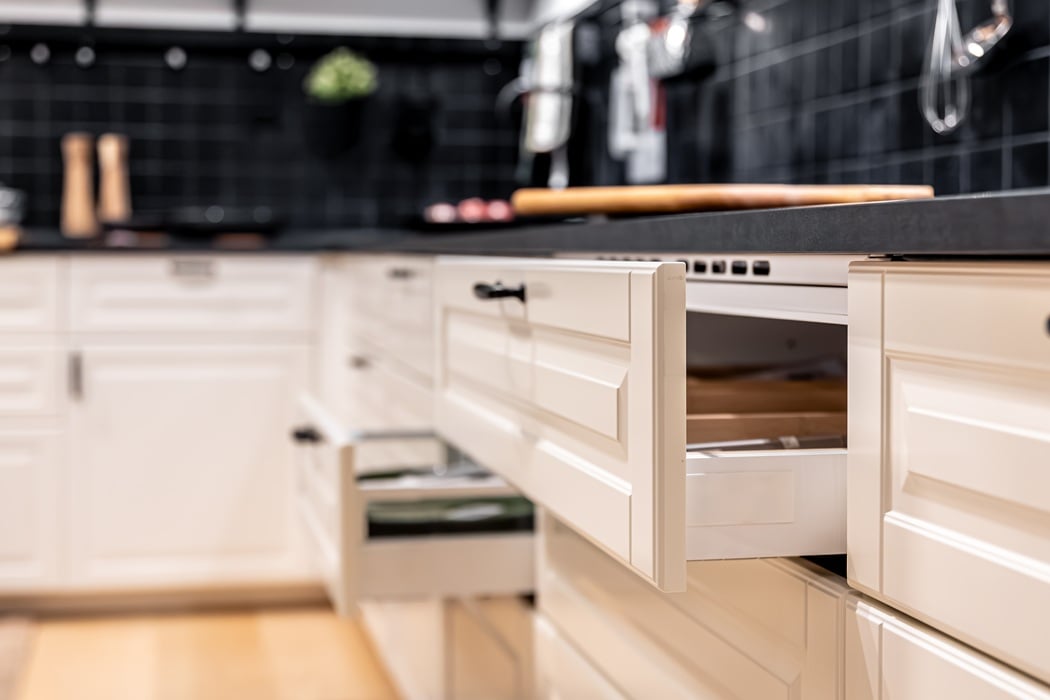
A classic kitchen renovation typically focuses on upgrading the most visible and functional elements without completely rebuilding the space. This often includes:
- Cabinet repainting or replacement
- New countertops
- Updated flooring
- Modern fixtures and appliances
It’s a smart option for homeowners who want a fresh, elevated look without the time and cost of a full structural remodel.
Full Timeline Breakdown (Step-by-Step)
1. Planning and Design Phase (4–8 Weeks)
This is where most homeowners underestimate the timeline. You’ll be making decisions on:
- Cabinet styles and finishes
- Countertop materials
- Layout adjustments
- Lighting and fixtures
In Maryland, especially in areas like Bethesda or Potomac, where homes vary from historic to modern, design choices often require careful coordination. Too many homeowners rush this step, only to change materials mid-project, which can add weeks of delays.
2. Ordering Materials (2–16 Weeks, Often Overlapping)
Cabinets are usually the biggest wildcard.
- Stock cabinets: 2–4 weeks
- Semi-custom: 6–10 weeks
- Custom cabinetry: 10–16+ weeks
Countertops, appliances, and specialty finishes can also add time. Pro tip: The smoothest projects happen when everything is on-site before demolition begins.
3. Permits and Approvals (2–4+ Weeks)
In Montgomery County and surrounding Maryland areas, permits can take time, especially if your renovation involves:
- Electrical updates
- Plumbing changes
- Structural modifications
Inspections are required at different stages, which can also impact scheduling.
4. Demolition Phase (1–2 Weeks)
This is the fast part, but also the most disruptive. Your old kitchen is removed, and the space is prepped for installation. Unexpected issues, such as outdated wiring or hidden water damage, can surface here.
5. Construction and Installation (4–12 Weeks)
This is where your new kitchen comes to life:
- Electrical and plumbing rough-ins
- Cabinet installation
- Countertop templating and installation
- Flooring and backsplash
- Final fixtures and finishes
Each step depends on the previous one being completed correctly, which is why coordination matters so much.
Key Factors That Can Speed Up or Delay Your Project
Cabinet Lead Times
Cabinets alone can determine whether your project takes 8 weeks or 16 weeks. Ordering early is critical.
Scope of Work
Simple upgrades move quickly. But if you’re:
- Removing walls
- Expanding the kitchen
- Reconfiguring plumbing
Expect a longer timeline.
Permit Complexity
Maryland regulations vary by county. Some approvals move quickly; others don’t.
Contractor Coordination
Poor scheduling between trades is one of the biggest causes of delays. This is where experienced project management makes a difference.
Common Mistakes That Add Weeks (or Months)
This is where many projects go off track.
- Starting demolition before materials arrive
- Changing design decisions mid-project
- Hiring multiple uncoordinated contractors
- Underestimating permit timelines
Even a single change order can delay your project by several weeks.
How to Keep Your Kitchen Renovation on Schedule
If you want your renovation to stay within that 6–12 week construction window, here’s what actually works:
- Finalize your design before starting
- Order all materials early
- Work with a single, organized remodeling team
- Build a small buffer into your timeline
Homeowners who treat renovation like a planned process, not a reactive one, almost always finish faster.
Why Process Matters More Than Speed
In areas like Washington, DC, and Montgomery County, homes often come with quirks, such as older plumbing, uneven floors, or outdated electrical systems. Rushing through a renovation can lead to costly mistakes. A structured, step-by-step approach ensures:
- Better craftsmanship
- Fewer surprises
- A smoother experience overall
That’s exactly why many homeowners prefer working with a team that handles everything from design to final installation under one roof.
Final Thoughts: What Should You Expect?
A well-managed classic kitchen renovation in Maryland isn’t just about how fast it gets done, it’s about how smoothly it gets done. Most projects follow this realistic timeline:
- 4–8 weeks planning
- 1–2 weeks demolition
- 4–12 weeks construction
Total: 3 to 6 months from start to finish The difference between a stressful renovation and a seamless one usually comes down to preparation and the team you choose.
Ready to Start Your Kitchen Renovation?
If you’re feeling overwhelmed by timelines, permits, or material decisions, you don’t have to figure it all out on your own. Dupont Kitchen & Bath handles the entire process, from planning and design to final installation, so your project stays on track and within budget. Call (202) 831-4869 today to schedule a consultation and start planning your kitchen transformation.